

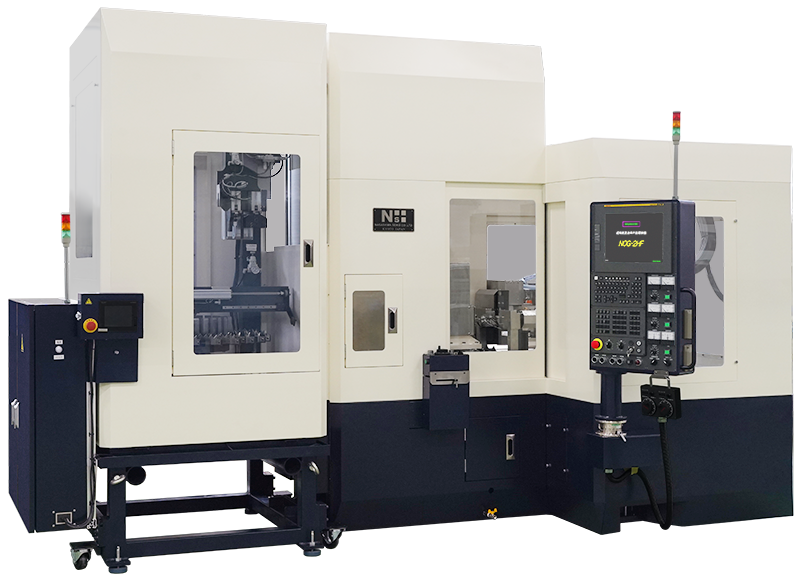
NOG-2HF
NOG-2HF with AWC
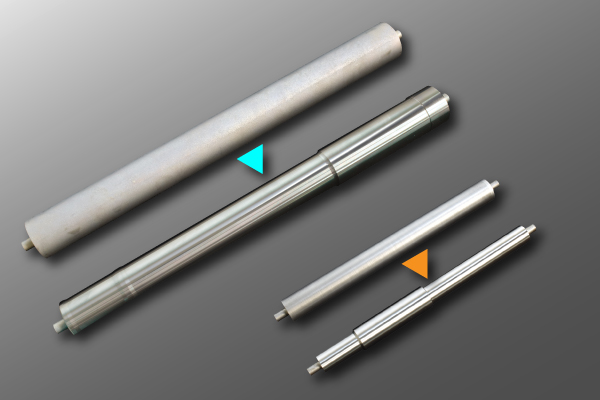
Ideal for tool base materials and die punches
Reinforce labor saving measures
NOG-2HF are mainly used for machining tool base materials and die punches. In general processing equipment, there are many cases which multiple processes are required, but this version upgrade will greatly solve the problem.
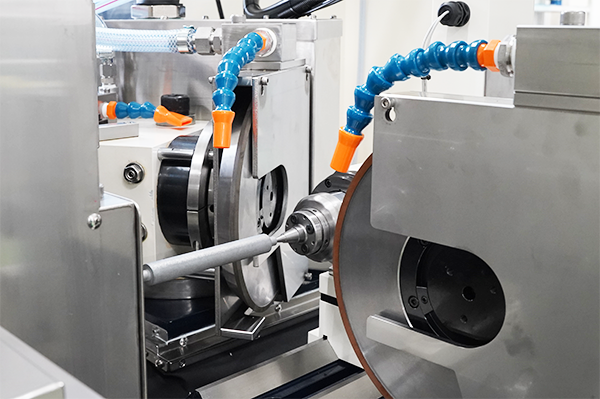
High efficiency machining with two grinding wheels
One-pass machining from a sintered material
By using independent two grinding wheels, NOG-2HF can grinds rough and finish simultaneously, which is impossible with ordinary cylindrical grinding machines.
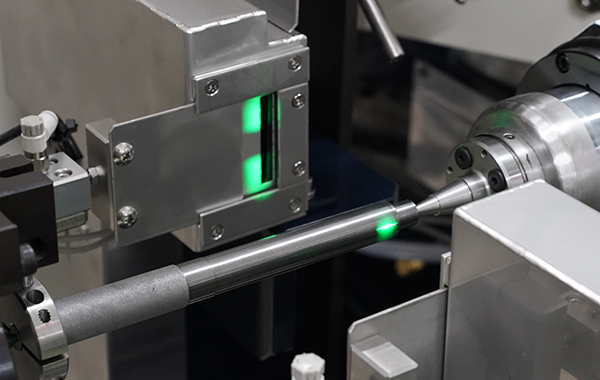
Automated supply, machining and measurement
From measurement to measurement
NOG-2HF is equipped with a laser measuring instrument. The workpiece external dimension after machining is measured and recorded at specified positions(up to 10 points). Since it measure by laser, there is no need to change measurement setups for different workpiece shapes, enabling for efficient automatic continuous machining.
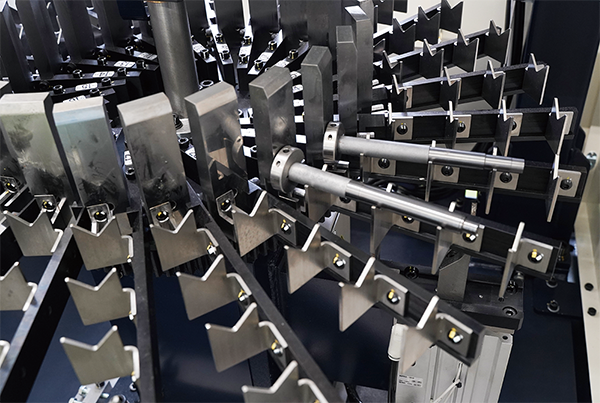
AWC equipped model
Achieve further efficiency
NOG-2HF combines high efficient machining with two grinding wheels (rough and finish) and the automatic workpiece loading system that can handle a variety if workpiece shapes. This allows unmanned continuous machining of up to 24 workpieces, while consolidating the conventional separate roughing and finishing processes into one.
| Item | Spec |
|---|---|
| Swing over table/Distance between centers | ∅180 / 300 mm |
| Max. workpiece size | width:∅30 mm / length: 300 mm / weight: 2 kg |
| Wheel size (Y axis) | ∅250 mm |
| Speed (Z axis) | 0 ∼ 6000 rpm |
| Wheel size (Z axis) | ∅250 mm |
| Control | FANUC |
| Stock number | 24 pcs |
WAZA520-EVOLUTION
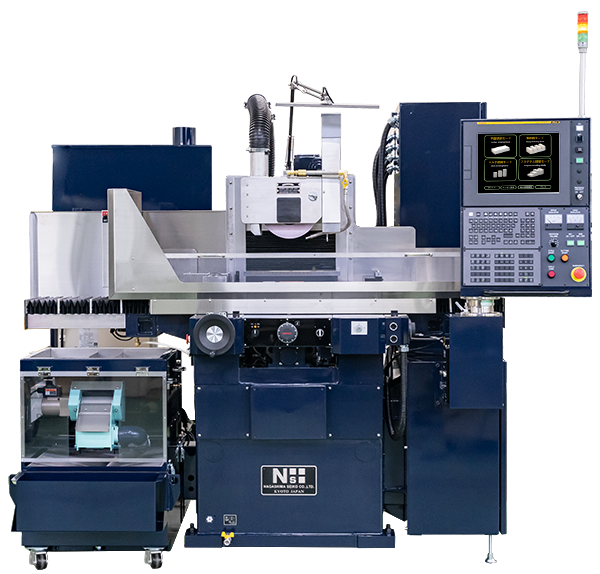

Plain and easy with on-board measurement
High accuracy even unmanned operation
Equipped with a high-precision on-machine workpiece measurement function using 3-axis (U/D, B/F, L/R) control. Workpiece height is automatically measured after machining, and compensation machining is also performed automatically. Automatic measurement can also be used for workpiece position detection. Simply set a workpiece and it is easily finished to the set dimensions without operator intervention.
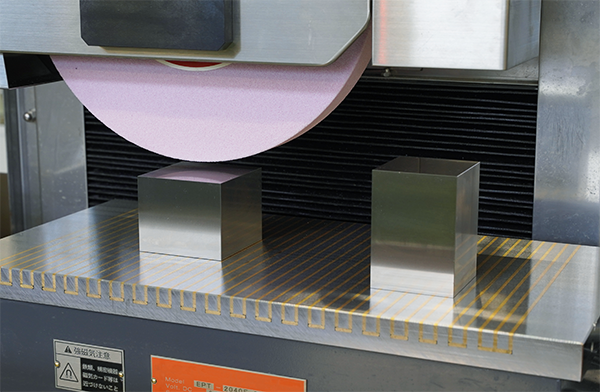
L/R positioning function enables machining various workpiece shapes.
From general-purpose machining to contour machining
A ball screw drive system is used for the L/R axis, enabling highly accurate position control. In addition to general-purpose surface and groove grinding, the machine can be used for a wide range of machining operations such as setting multiple workpieces of different shapes and contour grinding. WAZA-EVOLUTION supports the streamlining of grinding processes.
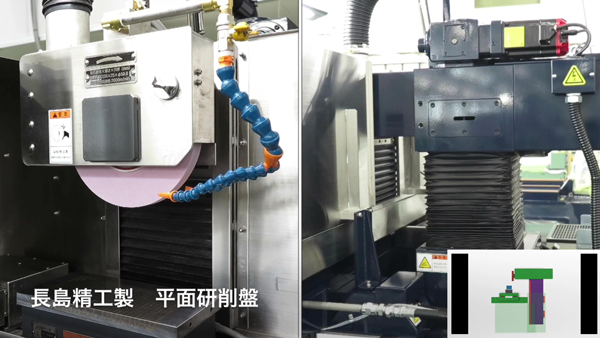
Mechanical structure pursuing high precision
Guarantees long-term high accuracy
We adopted a column head integral structure, one of NAGASHIMA features, to the vertical structure, and double V structure to all sliding guide ways. Furthermore, scraped surface enables both high rigidity and high accuracy.
| Item | Spec |
|---|---|
| Chuck size (without dresser) | 500 × 200 mm |
| Chuck size (with dresser) | 400 × 200 mm |
| Wheel size | ∅255 × ∅50.8 × 25 mm |
| Speed (Inverter) | 0 ∼ 3600 rpm |
| Control | FANUC |
| Option | Single-point dresser |
| Option | Single-disc rotarydresser |
| Option | Workpiece measuring equipment |